FAQs /
Tools /
Use Tabbing to Connect Several Sign Ups
Use Tabbing to Connect Several Sign Ups
Sign Up Tabbing allows paid subscribers the ability to group related sign up sheets together with tabs at the top of your sign up pages. This option gives participants the ability to quickly navigate between different sign ups from one page. Each tab is an individual sign up. It is important to note that a sign up cannot be added to a tabbed group until it has been published. Watch this tutorial that shows you how to create a tab group.
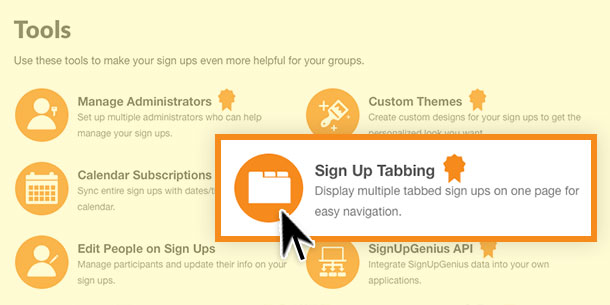
- Log into your account and click the Tools icon on the left side of your account sign ups page.
- Click the Sign Up Tabbing icon.

- You will notice a question mark icon next to Sign Up Tabbing. Click that icon if you would like additional information about this feature.
- Choose the option to Add New Tab Group.
.jpg)
- Choose a name that defines the types of sign ups available from your Tab Group. For example, your tabbed group could be titled Spring Conferences.
- Check the Yes option if you want to show the tab group name above the tabs.
- Click the green button to Create Tab Group.
.jpg)
- Select the option to Add A Sign Up.
- The sign ups available to add to the tabbed group will show from a drop-down option. If you do not see the sign up you are looking for, be sure to go back and publish the sign up.

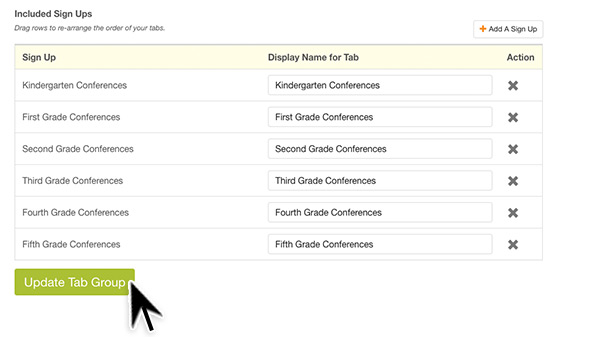
- When you have added the sign ups that you want to include in this tab group, click the Update Tab Group button.

- Return to the Sign Up Tabbing page from the Tools area to edit the display names of a tab, re-order tabs, or remove a sign up from the tabbed group.
- If you want to remove sign ups from the tabbed group, you can easily do so by choosing the pencil icon next to your tabbed group name. Click the X next to any sign up you no longer want to show as part of the tabbed group. Any sign up removed from your tabbed group will still be available in your Created Sign Ups area.
- Click Update Tab Group to save your changes.
View More Resources
Posted by SignUpGenius
|

.jpg)
.jpg)

